Best DPI and Upscaling Settings for Midjourney and AI T-Shirt Prints
How many pixels an AI image needs to print sharp on a shirt, which Midjourney settings to choose, and how far to upscale a 1024 pixel image for a full front print.
On this page
An AI image can look perfect on a phone and print like a photocopy of a photocopy. The picture is fine. It is small: most image models, Midjourney included, hand back about a megapixel, around 1024 × 1024 pixels. Spread over the front of a shirt, every one of those pixels is stretched to the size of a grain of rice.
This guide gives the numbers: how many pixels a shirt print needs, which settings to pick when you make the image, and how far to upscale it. The free print size calculator checks any file in seconds.
The numbers a shirt print needs
Print quality is measured in DPI: how many of the image’s pixels land on each inch of fabric. The sum is pixels divided by inches.
- 300 DPI is the standard for anything seen up close. On a 15 × 18 inch shirt front it means 4500 × 5400 pixels.
- 200 DPI is plenty for most shirts and hoodies. Fabric softens fine detail, so the eye cannot tell it from 300 at a normal distance.
- 150 DPI is the least most print-on-demand suppliers accept. It holds up from a step back, but soft edges and blocky gradients start to show.
| Image size | Sharp print (300 DPI) | Shirt front at |
|---|---|---|
| 1024 × 1024 | 3.4 × 3.4 in | 68 DPI |
| 2048 × 2048 | 6.8 × 6.8 in | 137 DPI |
| 4096 × 4096 | 13.7 × 13.7 in | 273 DPI |
| 4500 × 5400 | 15 × 18 in | 300 DPI |
A 1024 pixel image is a sticker. For a full shirt front it needs to be about four times bigger on each side.
Settings to choose when you make the image
- 1Match the shape of the print areaA shirt front is taller than it is wide. In Midjourney, add --ar 5:6 (the shape of 15 × 18 inches) or --ar 4:5. A square image on a shirt leaves part of the print area empty, which is fine for a chest logo but wastes pixels on a full front.
- 2Ask for a plain backgroundA flat white or black background is much easier to remove cleanly than a busy scene, and the cut-out is what gets printed.
- 3Use the generator’s own upscale firstMidjourney’s Upscale buttons double the image to around 2048 pixels. Use Subtle when you like the picture as it is; Creative may change small details.
- 4Keep fine detail in proportionHairline strokes and tiny text are the first things a print loses. Ask for bold shapes, thick outlines and a clear silhouette.
How far to upscale
After the generator’s own upscale, a 2048 pixel image is still only 137 DPI on a full shirt front. One more 2× step takes it to 4096 pixels and 273 DPI, which is as sharp as fabric shows. Starting from 1024, a single 4× step does the same.
The image upscaler does 2× or 4× and keeps a transparent background. It has three ways of working:
- Faithful keeps the picture as it is, only sharper. The safe choice for logos, lettering and flat cartoon art.
- Restore also cleans up blur and noise, which helps an image that was already soft.
- Enhance invents fine detail. It suits painterly and photographic pictures, but faces and small objects may change, so look closely before you print.
Check it before you order
- 1Check the sizePut the file into the print size calculator. It shows how large it prints sharp and how it does on a shirt, a hoodie, a mug and a poster.
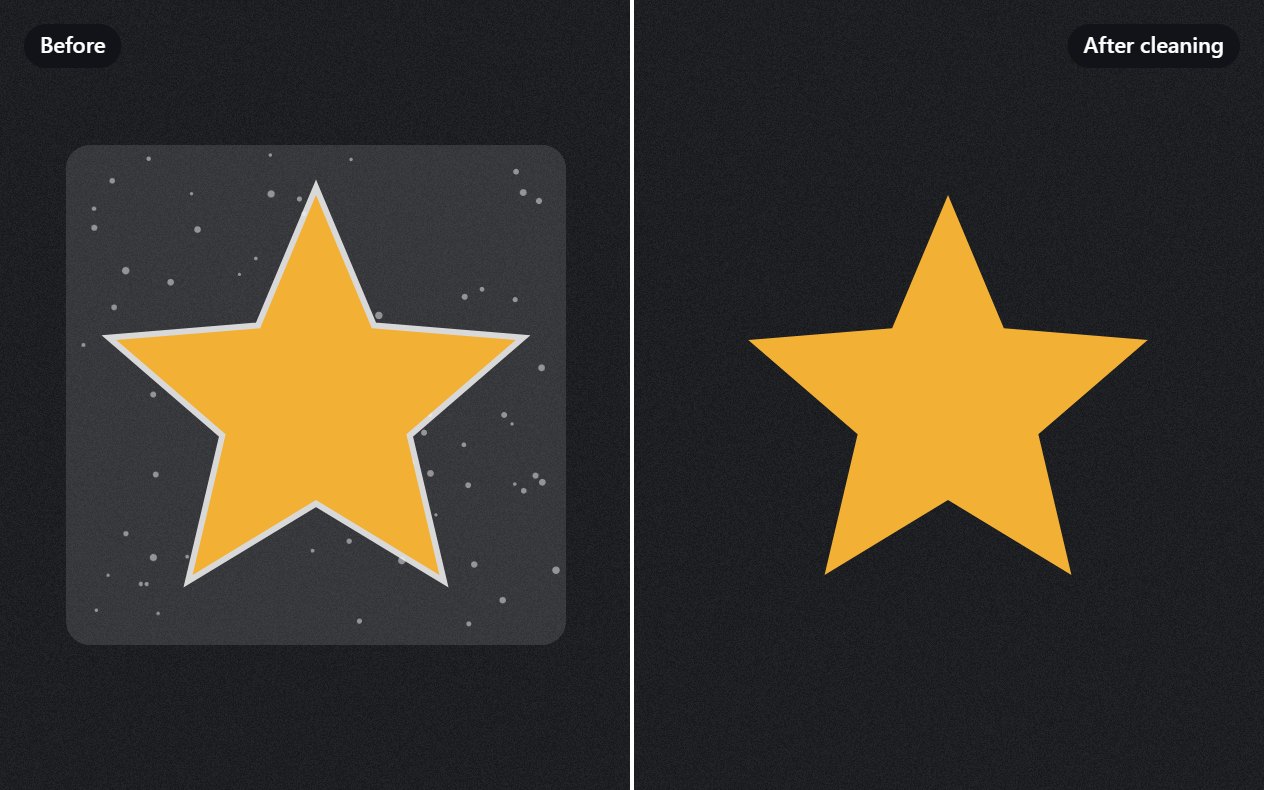
- 2Check the backgroundA shirt print needs a transparent PNG. The transparent PNG checker finds the faint leftovers that print as a haze on dark fabric.
- 3Check the colorsNeon and glowing colors print duller than they look. The print color checker marks the ones ink cannot reach.
In the SlapMake studio, the order screen does the size check for you: when a design would be stretched too far on the T-shirt or hoodie you picked, it says so and offers to sharpen it first.
Questions people ask
What DPI should a t-shirt print be?
300 DPI is the standard, and 200 DPI is plenty for most shirts because fabric softens fine detail. 150 DPI is the least most print-on-demand suppliers accept. On a 15 × 18 inch shirt front, 300 DPI means 4500 × 5400 pixels.
Is a Midjourney image big enough to print on a shirt?
Not on its own for a full front. Midjourney images come out at around 1024 pixels on a side, and about 2048 after its Upscale button. That prints sharp at 3.4 or 6.8 inches. For a 15 inch wide print, upscale it to about 4096 pixels.
Should I upscale 2× or 4×?
Upscale until the image is at least 200 DPI at the size you will print it. From 1024 pixels, 4× (to 4096) is right for a full shirt front. From 2048, 2× gets you to the same place.
What aspect ratio should I use for a shirt design?
A shirt front print area of 15 × 18 inches has the shape 5:6, so --ar 5:6 or --ar 4:5 in Midjourney fills it. Use a square for chest logos, stickers and mugs seen from the front.